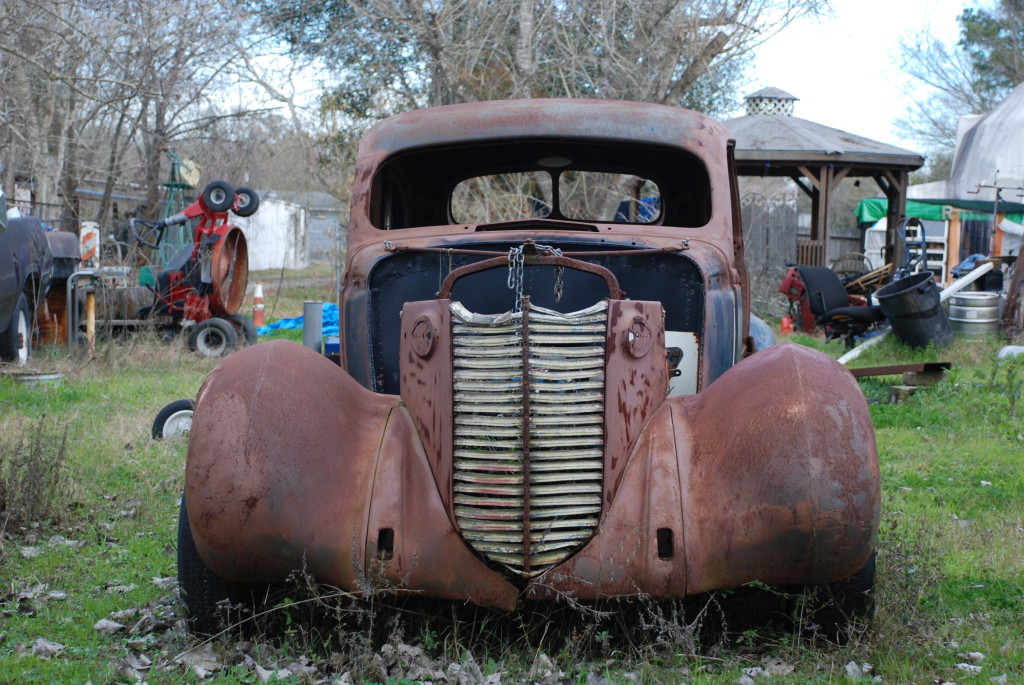
This is the story of our 38 Nash.
I bought it in Ironton, Mo. around 1988. If I recall correctly I paid around $400 for it. The frame was still there, engine and transmission were long gone. I had seen it while driving my trash truck and I knew my wife had always wanted a Bonnie & Clyde car. Well, I made the deal and brought it home. To my surprise my wife was not impressed at first being that all the outer body panels were stuffed inside.
My kids and I unloaded it all and with a bunch of used nuts and bolts, cider blocks and used lumber mocked up the body and I fell in love with it. Well, with 3 young kids, very little money, and lots of time running the trash route and stock car racing, I didn’t do much. I used the original frame and put a different (mopar) front stub on it, but when half done didn’t like it. Between the original frame being too flexible, and the heavy front clip I added I felt the chassis would be to heavy in the nose and flex way to much to be an enjoyable to drive car and that’s where the build in MO stopped.
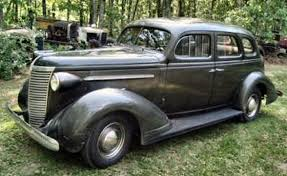
My car vs original condition:
A little time passed by:
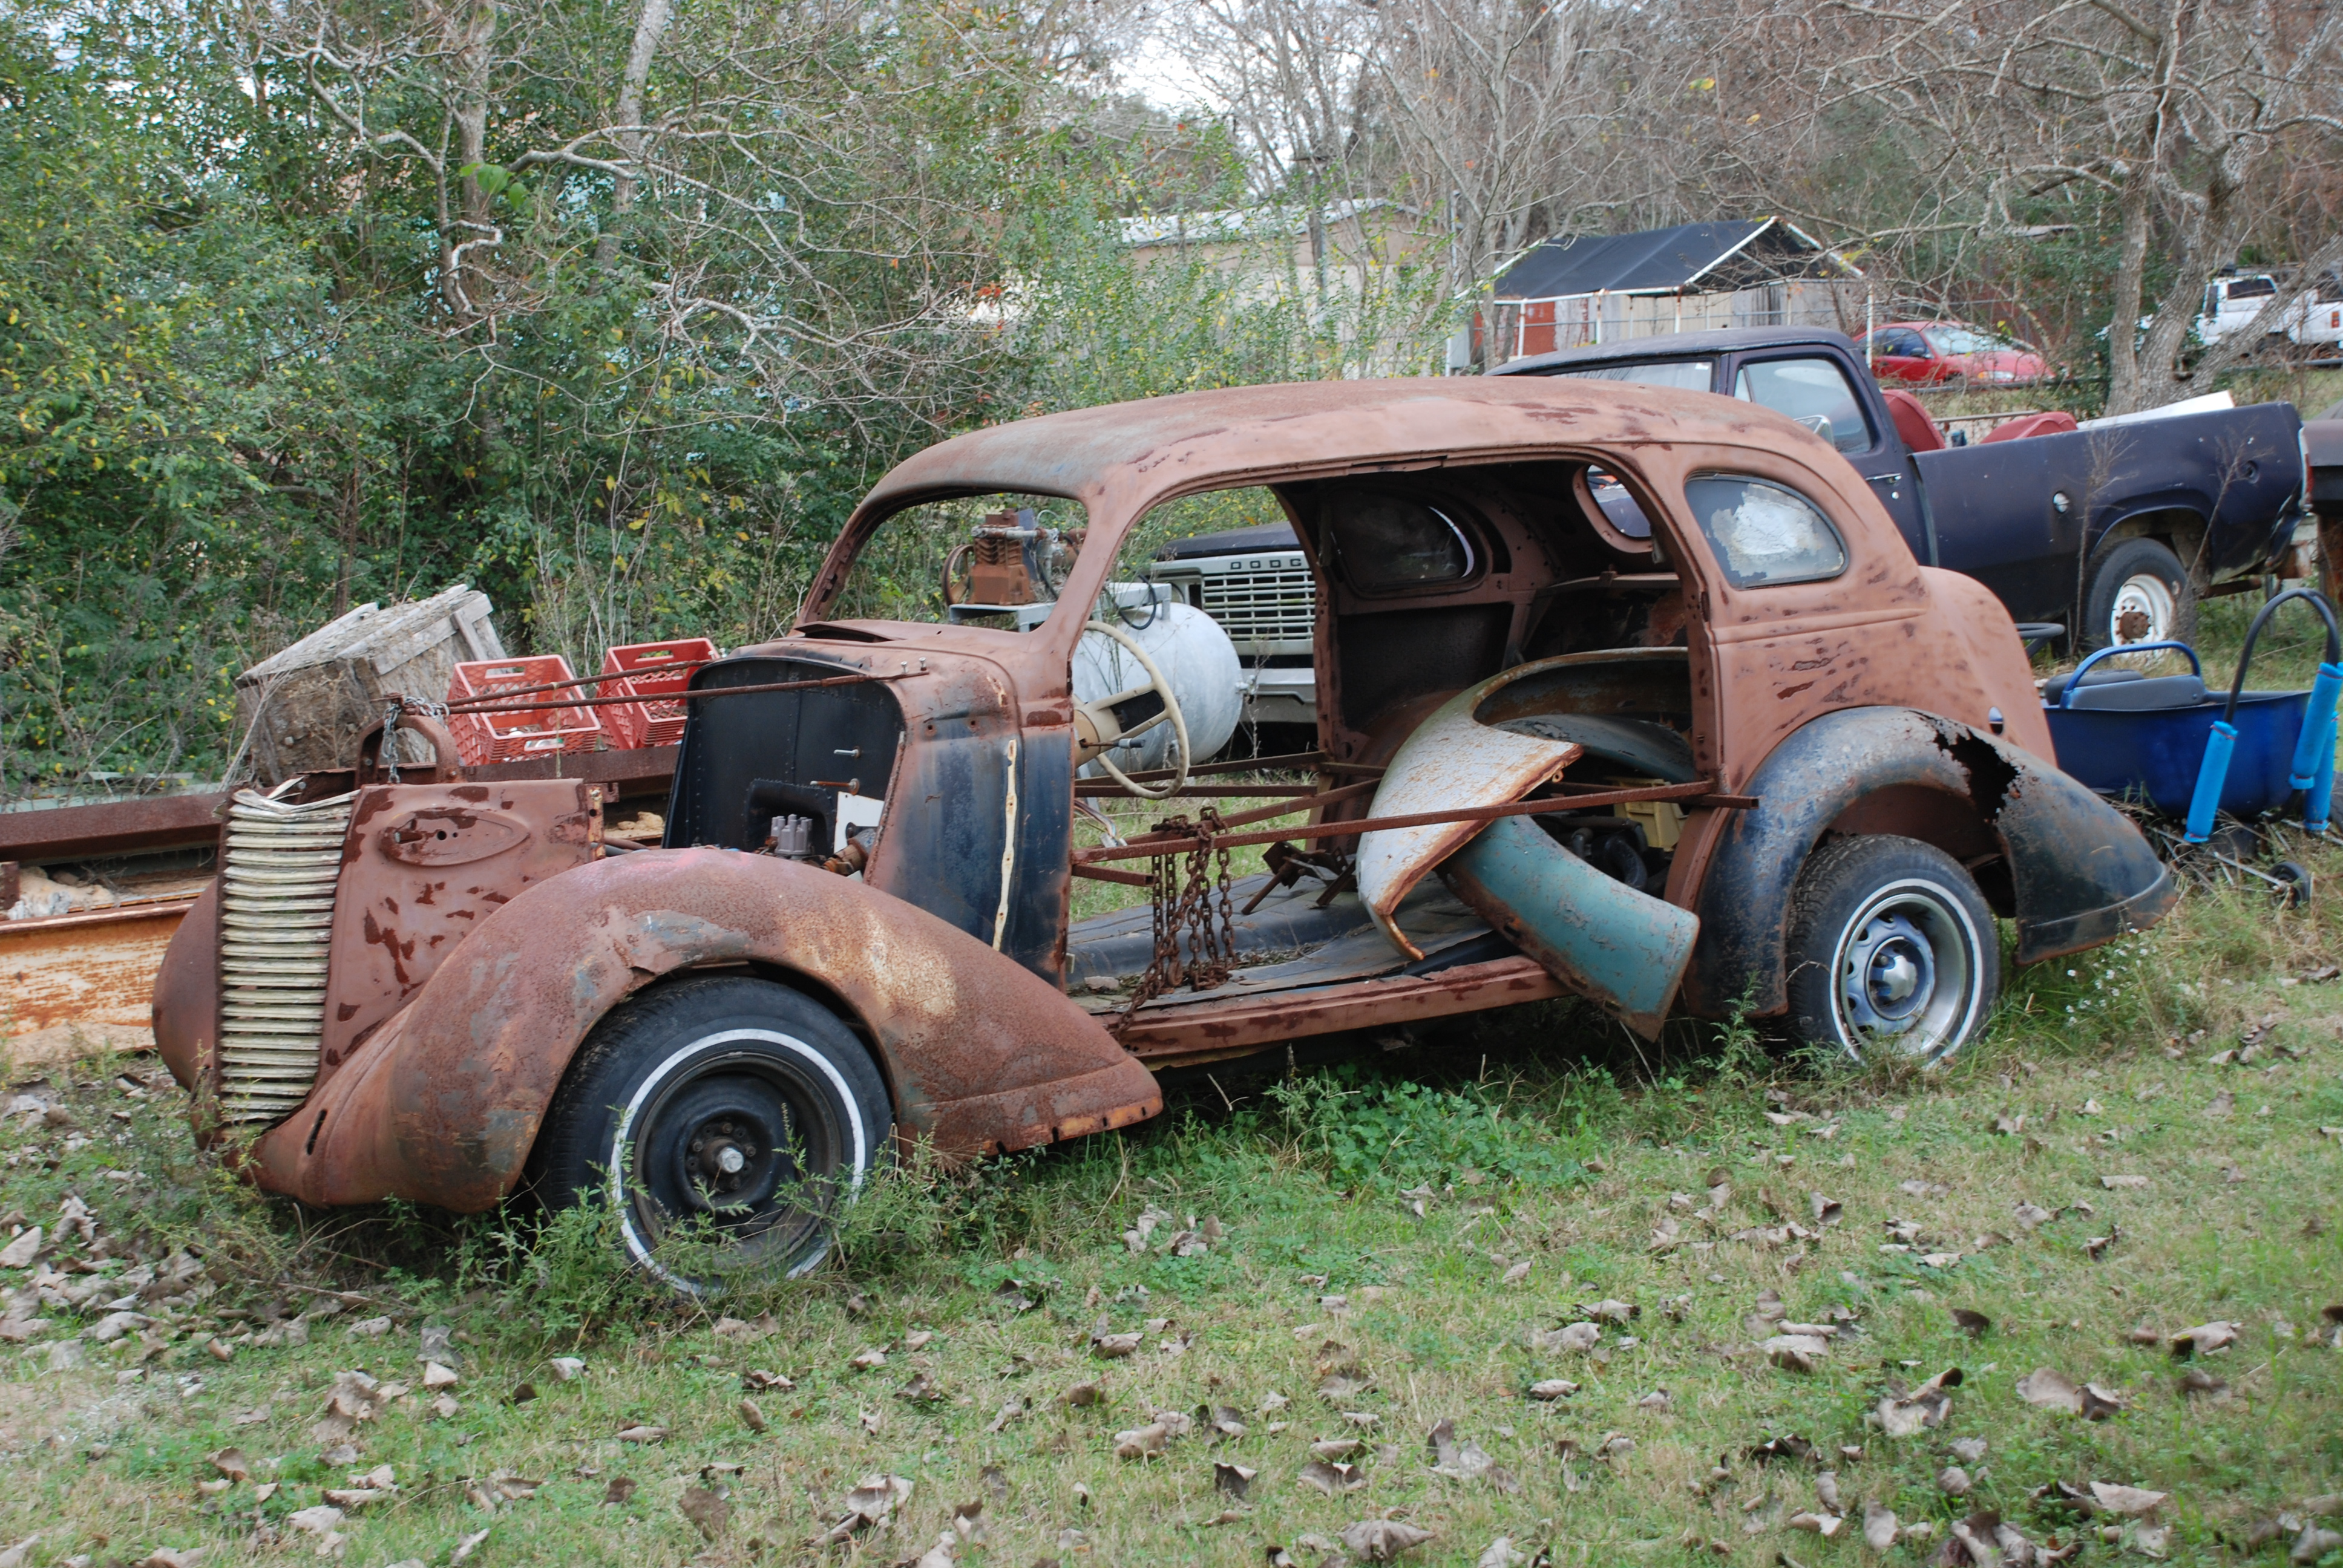
Well 10 years later I have moved to Texas and have my own shop to work on projects in. We pressure wash, sandblast, and evaluate the Nash project. The years were not nice to the already marginal floorboards, and the door bottoms, rear valance and lower rear inner fenders are ghosts of themselves. I am dismayed as to what to do. At this time I am also dismayed that the body of my old 73 Dodge pickup that I used for years as my service/camping truck is in the same shape. (Oak leaves are what did the damage on both vehicles, and the truck actually has a 3′ tree growing INSIDE the cab in the passenger carpet….aaarrrggghhhh!!!!)
So I decided to junk both to make one. Braces were welded into the Nash, then the doors, frame & floorboards were removed. The truck lost the body other than chunks of floor, cowl and firewall. The frame was cut and welded to extend the lowered cab part of the frame, and to shorten it to the wheel base of the Nash. A center floor, transmission hump and firewall were built to fit in the Nash with the good sheet metal from the truck, then added to with new material, most parts have bead rolls added for stiffness.
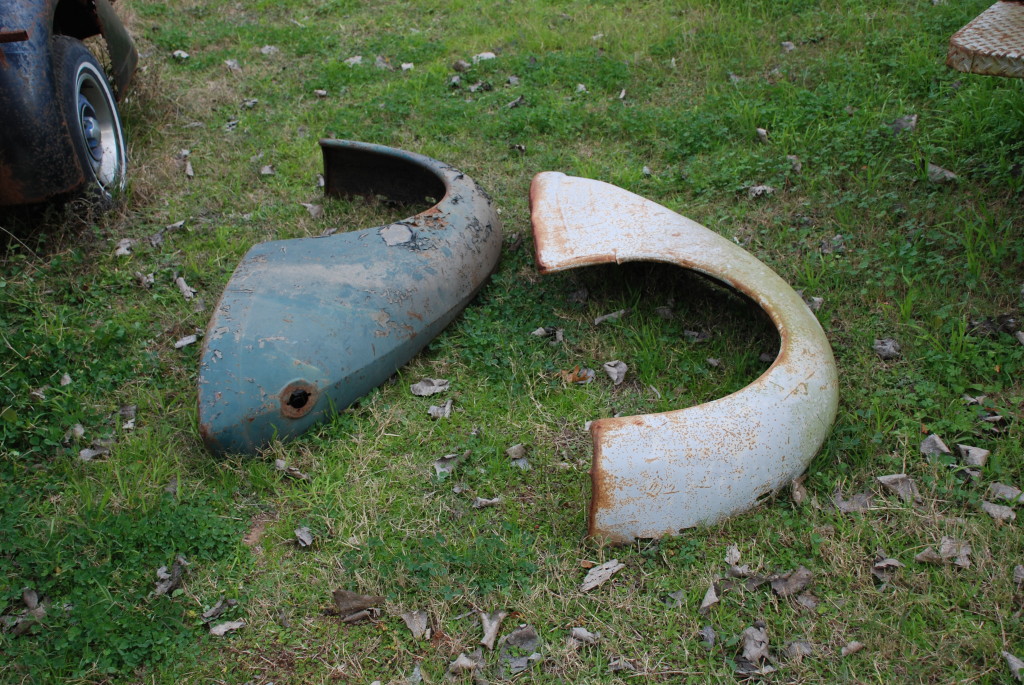
Two very nice fenders came from the Nash Car Club of America, thanks Jim! Nash Car Club of America. Body was going well, but things (as they usually do) sidelined the project….until now!
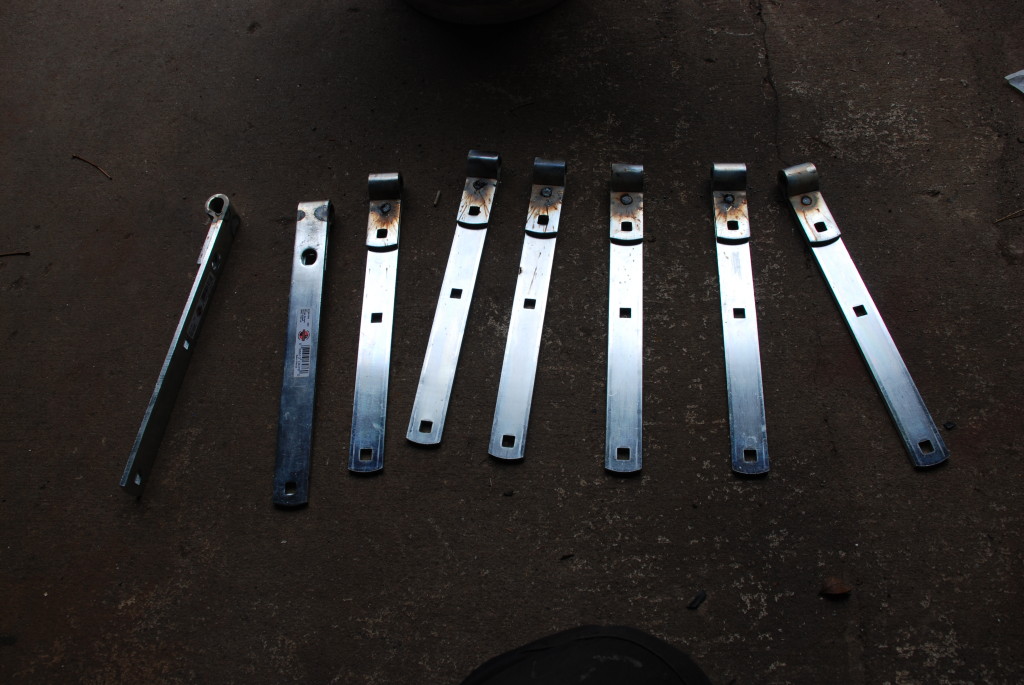
DIY Hidden Hot Rod Hinges
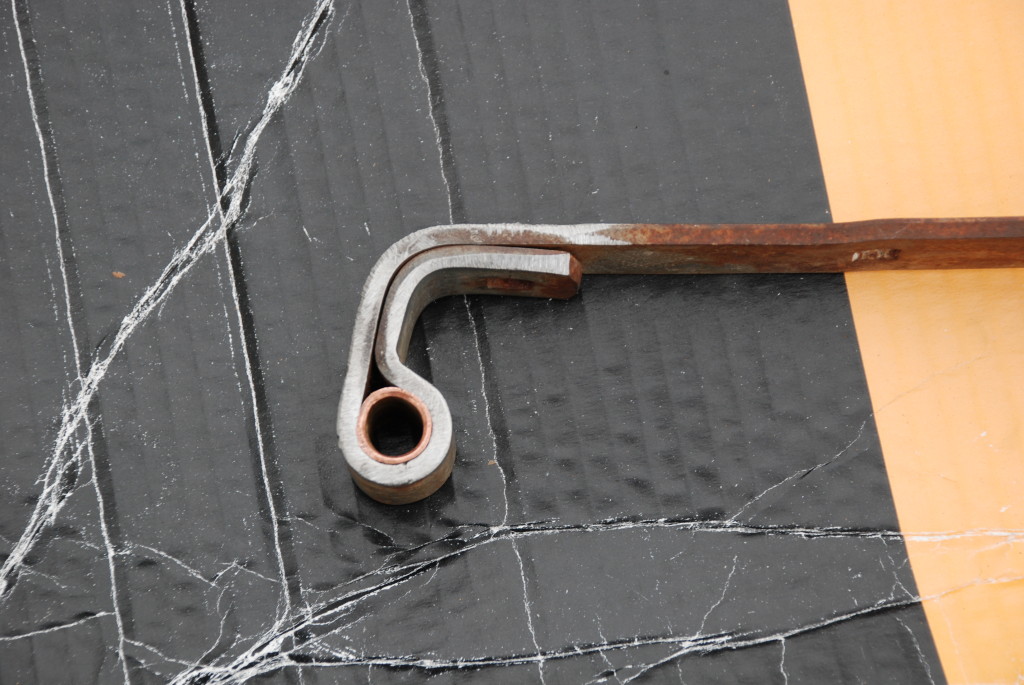
In order to stop the eye distortion I drill a 1/4 ” hole thru the top strap slightly into the lower. Weld the hole first, then weld the gap inside the eyes. Mine took 2 passes inside due to the coating on the hinge.
For bushings we are using 1/2″ copper tubing scrap cut 1/4″ longer that the width of the hinge eye. Line the bushing up with the hinge hole and press it in. I used a few different techniques trying to keep from distorting the bushing too bad, until the bushing is even on both sides.
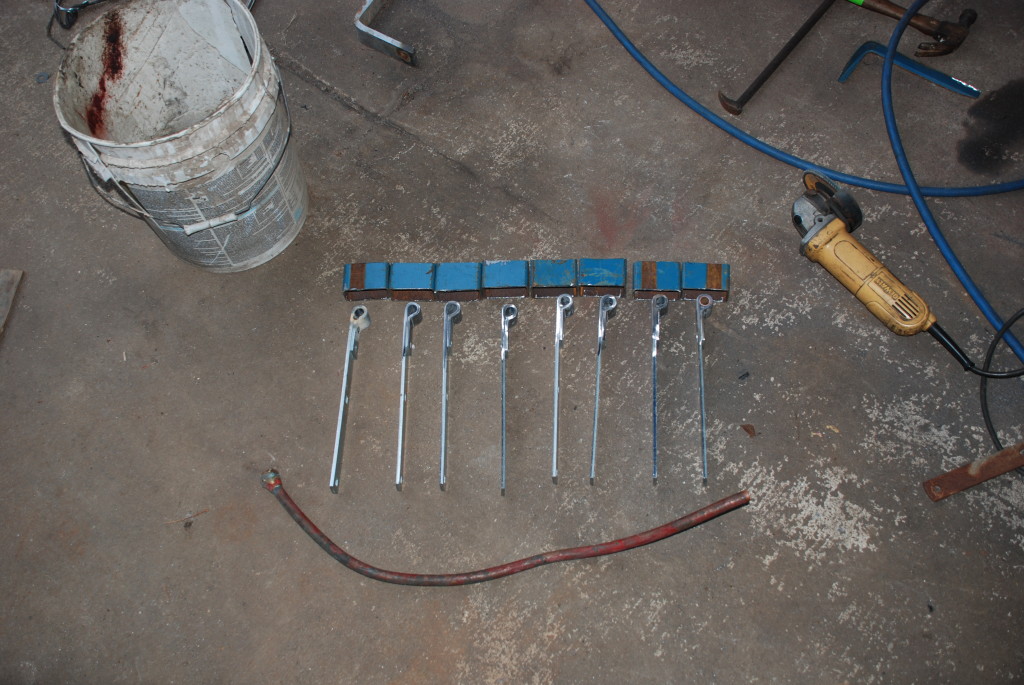

Shoulder bolts (shop scrounge) were to be used as the pivot pins. A shoulder bolt was ground on the leading edge for use as a final fit tool and pressed into the hinge bushing to set the final inside size. All in all a very nice finished product, and done for under $100 (with welder wire and grinding discs, and hardware). Now to break out the doors to get final measurements.
-JR